 7 minutes read
This article is about controlling the TP-Link HS100/HS110 smart home automation power sockets via Machinekit HAL (Hardware Abstraction Layer). The result is an HAL component which can toggle the relay state and monitor the energy consumption of a household electric device, such as a 3D printer.
Idea
Working on my goal to automate my 3D printing workflow, I came across the problem of turning the mains power supply of the 3D printer on and off. Automatically turning the 3D printer off after a successful 3D print is of particular importance for me, since I'm planning to run the machine unattended and remotely (I will explain the safety preparations I have taken to do this in a later post).
Since I did not like the idea of playing around with building my own relay that operates on 230V mains power, I looked for suitable turnkey solutions to do the trick. It turned out that there are not many solutions to programmatically toggle electric devices on the market. The closest match that I was able to find are so-called "smart-plugs".
There are a few solutions from different manufacturers on the (European) market. The most important selection criterias for me are:
- Is the device controllable from the local network without cloud connection?
- Can the relay be toggled via API (preferably with existing Python examples)?
- Does the device work without a "base station"?
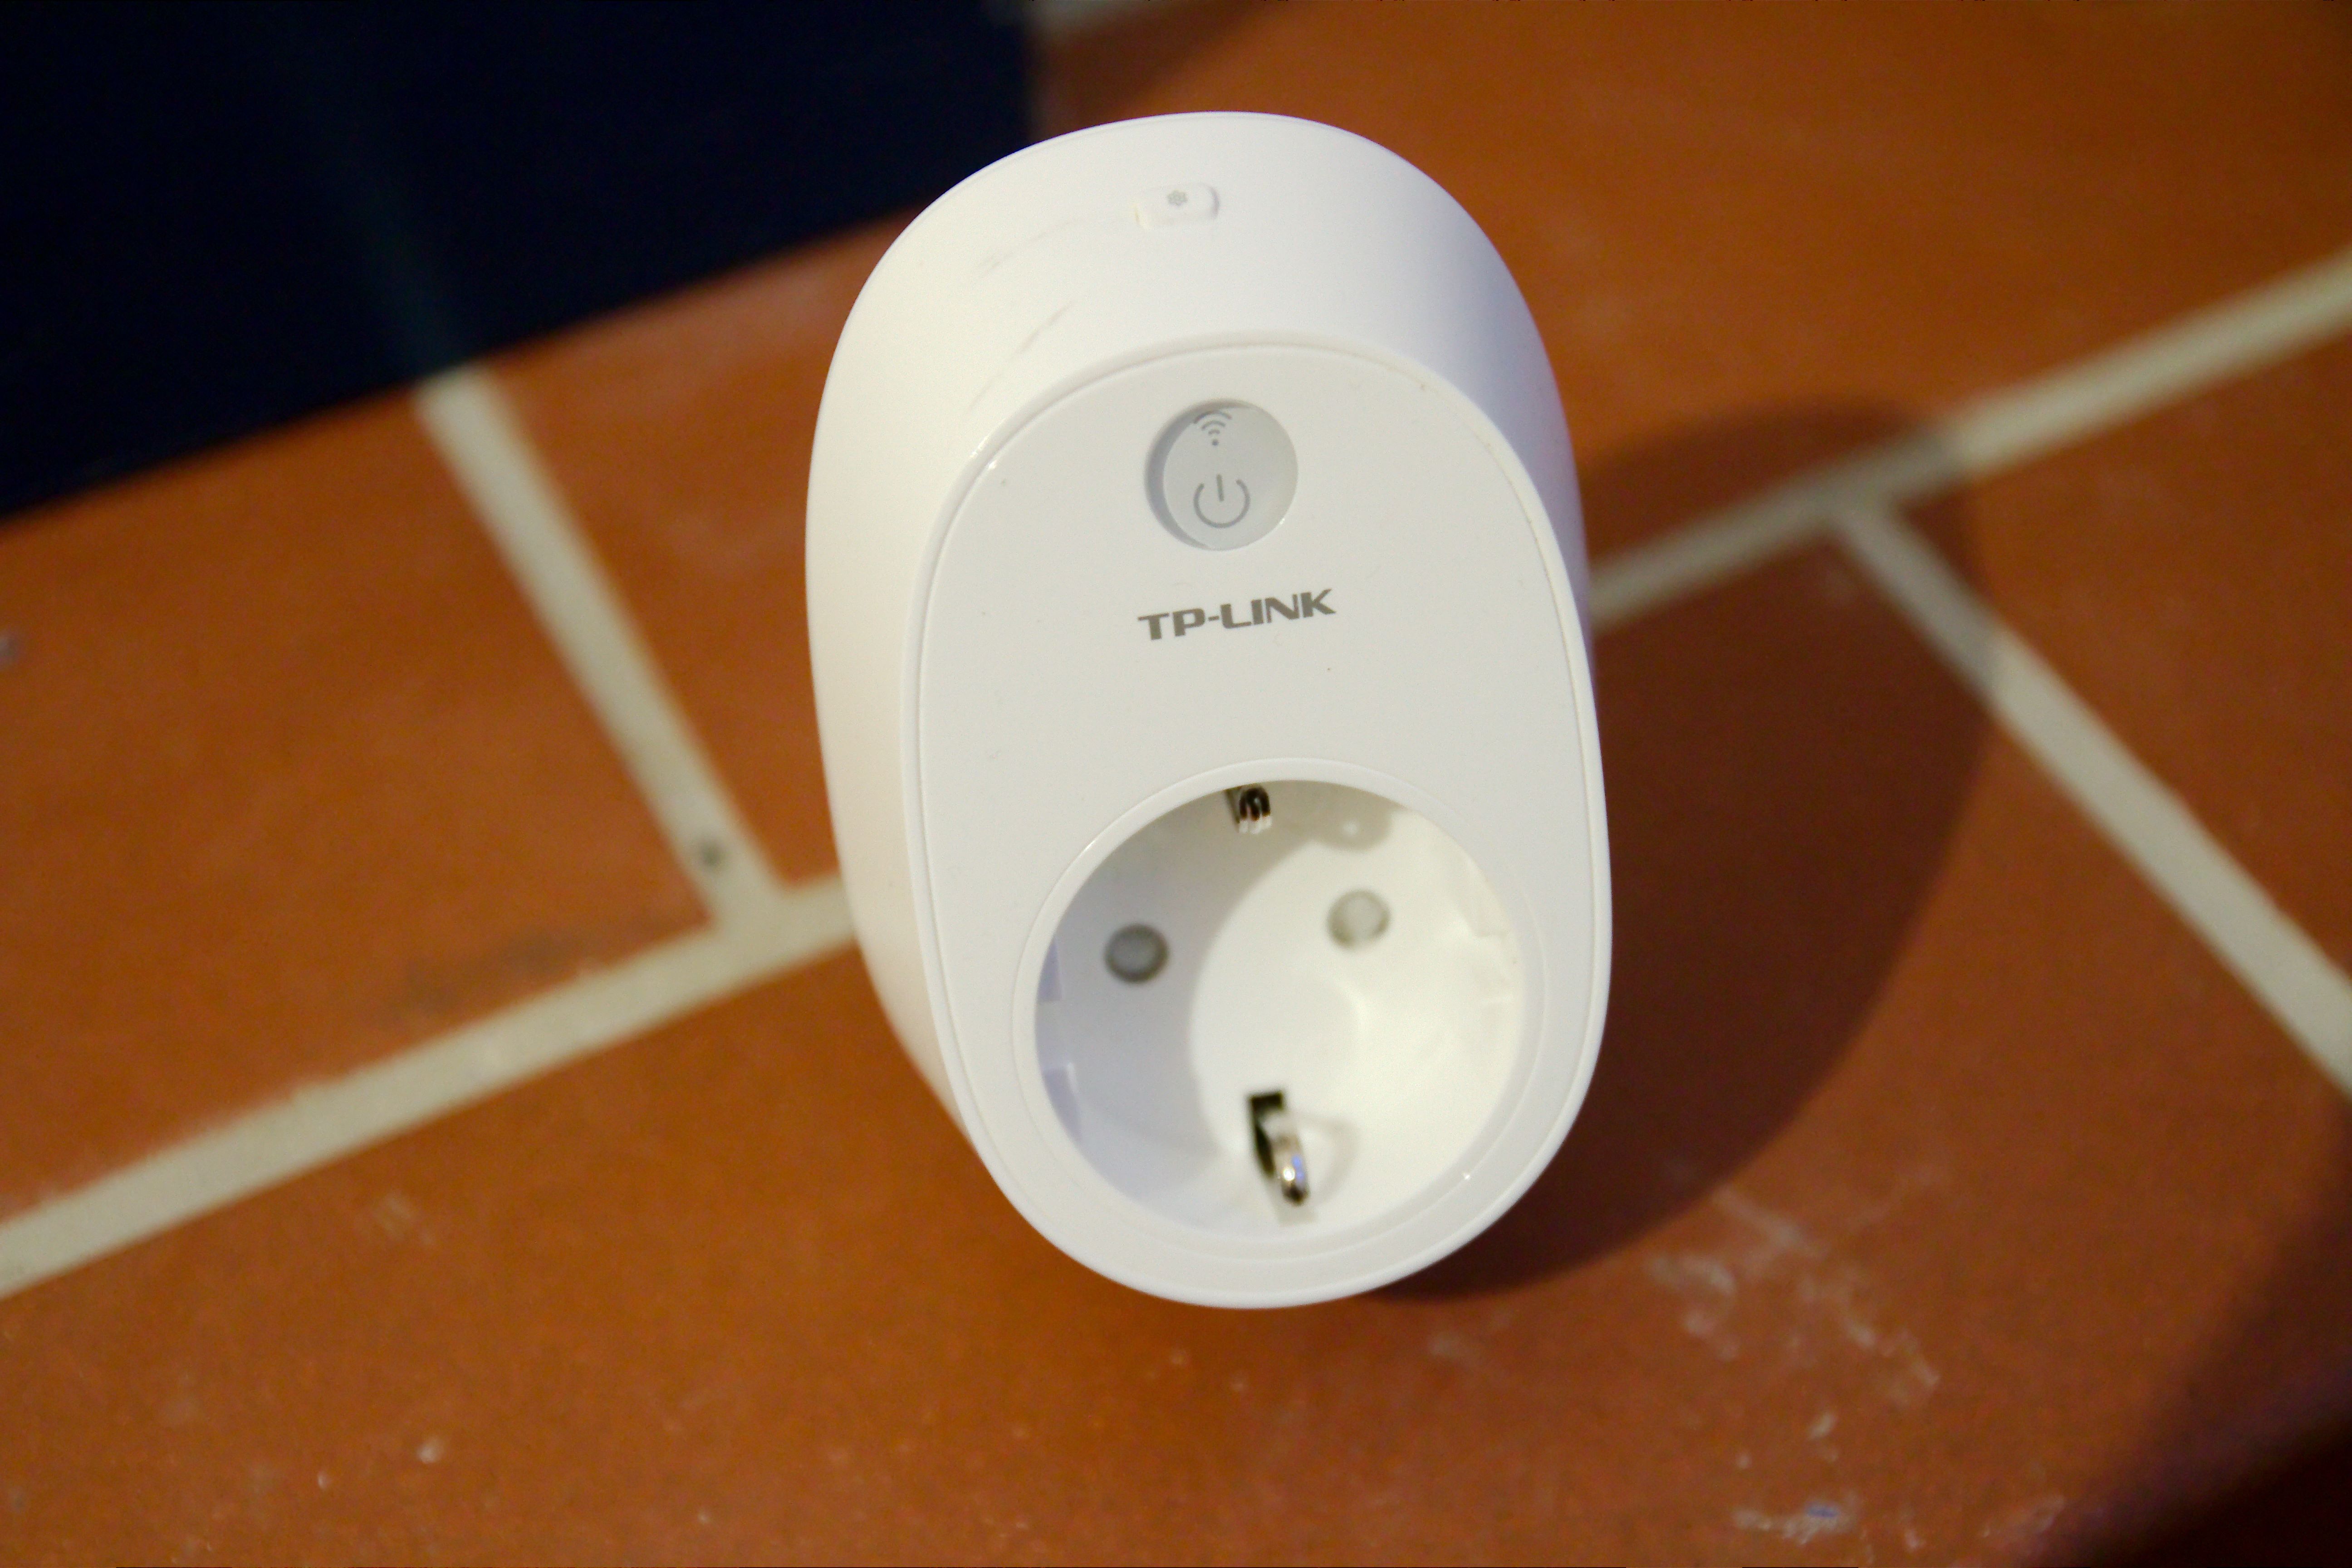
TP-Link HS110 Smartplug
I finally decided to use the TP-Link HS100/HS110 smart-plugs. The smart-plug comes in two variants. HS100 is a "simple" relay, and HS110 additionally features energy monitoring. I decided to go with the more expensive HS110 model (~40€) since it also allows me to monitor the power consumption of the 3D printer.
The setup process is simple: Plug in the device. Connect to a WiFi hotspot created by the plug. Open the Kasa on your smartphone and configure your home wireless network. Out of the box, the plug can be controlled via the app from local and network and cloud (can be disabled). Additionally one can schedule automatic enabling/disabling of the device for theft protection.
The manufacturer does not provide any official APIs for the device. However, SoftScheck managed to reverse engineer the proprietary communication protocol. SoftScheck also created a small Python example and Wireshark dissector which can be found on GitHub. Optimal starting conditions to develop a Python HAL component!
HAL Component
Time to dive into creating the HAL component for integrating the smart-plug into a Machinekit configuration.
Machinekit supports three types of HAL components:
- Real-time components written in C.
- User-land components written in C or C++.
- User-land components written in Python.
For controlling the smart-plugs, the Python HAL components are most suitable since we can use the whole feature set of Python. Furthermore, we don't have real-time requirements for this application.
Creating a Python HAL component is similar to writing a small Python application executable from the command line. The HAL loadusr command, which is used for running user-land components, does just execute a shell command. The Python application itself is responsible for creating, updating and removing HAL components and pins. So lets get started:
Base skeleton
Here is the minimal skeleton for a user-land Python HAL component:
#!/usr/bin/env python

import time
import argparse
import hal

def main():
    parser = argparse.ArgumentParser(description='HAL component to control TP-Link HS100/HS110 smartplugs')
    parser.add_argument('-n', '--name', help='HAL component name', required=True)
    parser.add_argument('-i', '--interval', help='Value update interval', default=0.5)

    # parse arguments
    args = parser.parse_args()
    updateInterval = float(args.interval)

    # create HAL component
    h = hal.component(args.name)
    enablePin = h.newpin('enable', hal.HAL_BIT, hal.HAL_IO)
    h.ready()

    try:
        while (True): #  main loop
            startTime = time.time()

            # processing
            enablePin.value = not enablePin.value

            # sleep
            sleepTime = updateInterval - (time.time() - startTime)  # corrects for processing time
            time.sleep(max(sleepTime, 0.0))

    except KeyboardInterrupt:
        print(("exiting HAL component " + args.name))
        h.exit()

if __name__ == "__main__":
    main()
This skeleton does nothing else than creating an HAL component with a single pin which is toggled with every while loop iteration. argparse is used to pass parameters to the component, this especially useful if one wants to create multiple instances of an HAL component with different names. For example, this component can be loaded with halcmd loadusr.
./hal_o_world.py -n foo -i 0.5
Controlling the smart-plugs
Now it is time to use the Python examples for controlling the smartplugs and to integrate them with the HAL component. The quintessence of the example code, which can be found at GitHub, is following:
# Predefined Smart Plug Commands
# For a full list of commands, consult tplink_commands.txt
commands = {'info'     : '{"system":{"get_sysinfo":{}}}',
            'on'       : '{"system":{"set_relay_state":{"state":1}}}',
            'off'      : '{"system":{"set_relay_state":{"state":0}}}',
            'cloudinfo': '{"cnCloud":{"get_info":{}}}',
            'wlanscan' : '{"netif":{"get_scaninfo":{"refresh":0}}}',
            'time'     : '{"time":{"get_time":{}}}',
            'schedule' : '{"schedule":{"get_rules":{}}}',
            'countdown': '{"count_down":{"get_rules":{}}}',
            'antitheft': '{"anti_theft":{"get_rules":{}}}',
            'reboot'   : '{"system":{"reboot":{"delay":1}}}',
            'reset'    : '{"system":{"reset":{"delay":1}}}'
}

# Encryption and Decryption of TP-Link Smart Home Protocol
# XOR Autokey Cipher with starting key = 171
def encrypt(string):
    key = 171
    result = "\0\0\0\0"
    for i in string:
        a = key ^ ord(i)
        key = a
        result += chr(a)
    return result

def decrypt(string):
    key = 171
    result = ""
    for i in string:
        a = key ^ ord(i)
        key = ord(i)
        result += chr(a)
    return result
and
port = 9999
sock_tcp = socket.socket(socket.AF_INET, socket.SOCK_STREAM)
sock_tcp.connect((ip, port))
sock_tcp.send(encrypt(cmd))
data = sock_tcp.recv(2048)
sock_tcp.close()
In essence, the TP-Link smart-plugs use very simple encoding, JSON as serialization method and the TCP/IP protocol. The protocol is stateless and works with a simple request-reply pattern. After each command request-reply pair has been completed the connection needs to be closed.
Softscheck has done an excellent job on reverse engineering the available JSON commands. Following commands are interesting for the HAL smart-plug component:
Get System Info (Software & Hardware Versions, MAC, deviceID, hwID etc.)
{"system":{"get_sysinfo":null}}

Turn On
{"system":{"set_relay_state":{"state":1}}}

Turn Off
{"system":{"set_relay_state":{"state":0}}}

Get Realtime Current and Voltage Reading
{"emeter":{"get_realtime":{}}}
The first command can is used for querying the system state. The second and third command to toggle the relay state and the last command allows us to read the emeter values.
Each of these commands also returns a response in JSON format containing information wether the query was successful or not and state information. After some testing on the command line, it turned out that the JSON commands can be grouped together, which saves some unnecessary connections.
Python class
Using the information from the previous section, we can build a Python class for controlling the smart-plugs.
class HS1xx():
    def __init__(self, ip, emeter=True):
        self.ip = ip
        self.port = 9999  # standard port
        self.connected = False
        self.timeout = 0.25
        self.socket = None
        self.recv_buffer = 2048
        # status
        self.enable = False
        self.error = False
        self.emeter = emeter
        if self.emeter:
            self.voltage = 0.0
            self.current = 0.0
            self.power = 0.0
            self.energy = 0.0

        # prepare the update command
        commands = ['"system":{"get_sysinfo":null}']
        if self.emeter:
            commands.append('"emeter":{"get_realtime":{}}')
        self.update_command = '{%s}' % ','.join(commands)

    # source: https://github.com/softScheck/tplink-smartplug
    # Encryption and Decryption of TP-Link Smart Home Protocol
    # XOR Autokey Cipher with starting key = 171
    def encrypt(self, string):
        key = 171
        result = "\0\0\0\0"
        for i in string:
            a = key ^ ord(i)
            key = a
            result += chr(a)
        return result

    def decrypt(self, string):
        key = 171
        result = ""
        for i in string:
            a = key ^ ord(i)
            key = ord(i)
            result += chr(a)
        return result

    def connectSocket(self):
        self.socket = socket.socket(socket.AF_INET, socket.SOCK_STREAM)
        self.socket.settimeout(self.timeout)
        try:
            self.socket.connect((self.ip, self.port))
            self.connected = True
        except socket.error:
            self.socket = None

    def closeSocket(self):
        if self.socket is not None:
            try:
                self.socket.close()
            finally:
                self.socket = None
        self.connected = False

    def socketCmd(self, cmd):
        try:
            sock = socket.socket(socket.AF_INET, socket.SOCK_STREAM)
            sock.settimeout(self.timeout)
            sock.connect((self.ip, self.port))
            sock.send(self.encrypt(cmd))
            data = sock.recv(self.recv_buffer)
            sock.close()
            data = self.decrypt(data[4:])
            return json.loads(data)
        except socket.error:
            self.handleError()
            return None

    def handleError(self):
        self.error = True

    def update(self):
        self.error = False
        self.updateStatus()

    def updateStatus(self):
        data = self.socketCmd(self.update_command)
        if data is None:
            return

        # update relay state
        sysinfo = data['system']['get_sysinfo']
        err_code = sysinfo['err_code']
        if not err_code:
            self.enable = sysinfo['relay_state']
        else:
            self.handleError()
        if not self.emeter:
            return

        # update emeter state
        realtime = data['emeter']['get_realtime']
        err_code = realtime['err_code']
        if not err_code:
            self.current = realtime['current']
            self.voltage = realtime['voltage']
            self.power = realtime['power']
            self.energy = realtime['total']
        else:
            self.handleError()

    def setRelayState(self, state):
        cmd = '{"system":{"set_relay_state":{"state":%i}}}' % int(state)
        data = self.socketCmd(cmd)
        if data is None:
            return
        result = data['system']['set_relay_state']
        err_code = result['err_code']
        if not err_code:
            self.enabled = state
        else:
            self.handleError()
I have split up the command execution using the socket and the JSON queries for status and relay state changing into separate functions to improve the readability.
This Python class can then be utilized in the HAL component to control our smart-plugs.
# create HAL component
h = hal.component(args.name)
enablePin = h.newpin('enable', hal.HAL_BIT, hal.HAL_IO)
errorPin = h.newpin('error', hal.HAL_BIT, hal.HAL_OUT)
if emeter:
    currentPin = h.newpin('current', hal.HAL_FLOAT, hal.HAL_OUT)
    voltagePin = h.newpin('voltage', hal.HAL_FLOAT, hal.HAL_OUT)
    powerPin = h.newpin('power', hal.HAL_FLOAT, hal.HAL_OUT)
    energyPin = h.newpin('energy', hal.HAL_FLOAT, hal.HAL_OUT)
h.ready()

last_hal_enable = False
last_plug_enable = False
plug = HS1xx(address, emeter)
plug.timeout = timeout
Of course, the HAL component needs to be updated in the main loop:
# update device status
plug.update()
if not plug.error:  # update may return an error
    if emeter:  # update emeter values if enabled
        currentPin.value = plug.current
        voltagePin.value = plug.voltage
        powerPin.value = plug.power
        energyPin.value = plug.energy
    enable = enablePin.value
    # update relay state
    if last_hal_enable != enable and enable != plug.enable:
        plug.setRelayState(enable)
        if not plug.error:
            last_hal_enable = enable
    elif last_plug_enable != plug.enable:
        last_hal_enable = plug.enable
        enablePin.value = plug.enable
        last_plug_enable = plug.enable
errorPin.value = plug.error
The final component allows toggling the relay state both, from the HAL side, as well as with the physical button on the device itself. The source code of the complete component along with high-level tests can be found at GitHub: machinekoder/hal_smartplug
Integration into HAL configuration
Finally, we can use the Python HAL component in an existing HAL configuration. In my case, I wanted to use the component in my 3D printer configuration which uses Python HAL.
Therefore, I had to extend the hardware.py file with the following function:
def setup_smartplugs():
    # first smartplug - machine power
    address = "10.0.0.8"
    name = "smartplug-power"
    smartplug = hal.loadusr('hal_smartplug -n %s -e -a %s' % (name, address), wait_name=name)

    smartplug.pin('enable').link('motion.digital-out-io-15')

    # second smartplug - fan control
    address = "10.0.0.7"
    name = "smartplug-fan"
    smartplug = hal.loadusr('hal_smartplug -n %s -e -a %s' % (name, address), wait_name=name)

    smartplug.pin('enable').link('motion.digital-out-io-16')
Additionally the uni-print-3d.py of the Machinekit configuration needs to be updated to use the setup_smartplugs() function:
...
# Smartplugs
hardware.setup_smartplugs()
# Setup Hardware
...
Note that I have connected both smart-plugs to Motion digital IO pins, which can be controlled with the M64 and M65 commands from any GCode program. Using this feature, I can now turn off the 3d printer power after a successful print and also control an external 230V cooling fan.
Conclusion
Concluding, I am very satisfied with the smart-plugs in combination with Machinekit. However, I had some small problems during the setup:
I had to configure my wireless network router to assign the IP address of the smart-plug devices statically. Furthermore, I noticed that the smart-plugs turn off the relay for a few seconds when the WiFi is disconnected. This behavior is very annoying when you have an unstable WiFi connection (e.g. device from the ISP). Therefore, I had to install a second WiFi access point just for my 3D printer, and luckily I had an unused one sitting around.
The next step would be to create an HAL remote component using QtQuickVcp to control the plugs from the Machineface UI. This step will be covered in a later blog post.
If you find this post useful or have any questions, please don't hesitate to comment on this blog.
Your Machine Koder